Skip to content
KELISS
Smart mirrors

Installation and warranty

A Keliss mirror hangs on the wall and, on most models, is hardwired to the electrical installation: the connection is made by your electrician.

We do not currently offer an installation service: your Keliss mirror can be fitted by anyone you choose, and the connection to the mains is made by your electrician.

Before buying

Dimensions and position

Each model's dimensions are on its product page, in inches (1 inch = 2.54 cm). The manufacturer's guides recommend leaving about 3 inches (7.6 cm) between the top of the tap and the bottom edge of the mirror; for recessed cabinets, at least 3.8 inches (9.7 cm).

Electrical connection

Almost all models are hardwired to the installation: live, neutral and earth come out behind the mirror and are joined to its wires with a terminal block, which is not included. The installation must be earthed. According to the data sheets, Stargaze and Nethra instead have a cable with a plug: you need a socket nearby.

Mains voltage

The manufacturer's guides are written for the North American market: they specify a 120 V, 20 A circuit protected by a residual-current device, and the mirrors carry ETL certification. Before ordering, ask us to confirm the version for the European 230 V mains; the connection must comply with the regulations in force in your country.

Mirror cabinets

Gaze and Enchant can be surface-mounted or recessed. For recessing, an opening the size of the cabinet is made in the wall and framed: the wires are connected before the cabinet is inserted.

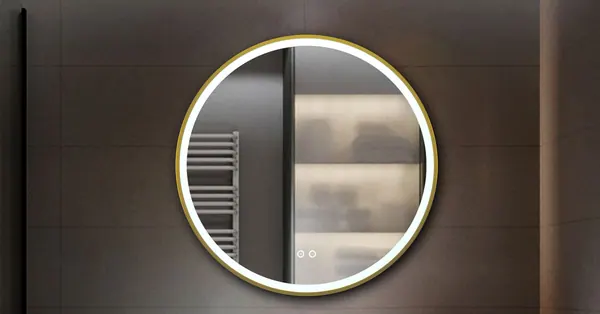
Round backlit Keliss mirror hung above a washbasin

How it is fitted

  1. 01

    Position

    Choose where to hang the mirror, mark the top edge in pencil and check it with a spirit level.

  2. 02

    Fixing points

    Measure the distance between the hanging points on the back of the mirror and transfer it to the wall, level.

  3. 03

    Wall plugs and screws

    Drill, insert the wall plugs and screws supplied and leave the screw heads protruding by a few millimetres, as the model's guide indicates.

  4. 04

    Connection

    With the power off, the electrician connects the supply to the mirror's wires: live, neutral and earth.

  5. 05

    Hanging

    Hang the mirror on the screws or brackets by lowering it into the slots, and check that it is level.

  6. 06

    Test

    Switch the power back on and test the light, the colour temperature and, where fitted, the anti-fog from the touch buttons.

Cabinets: surface-mounted or recessed

Surface-mounted, the cabinet hooks onto two brackets and is secured with a third bracket under the base. Recessed, it is screwed to the uprights of the frame, taking care not to trap the wires. In both cases the glass shelves are then fitted on their supports and the hinges adjusted: first in and out, then up and down, then left and right.

Tools

Drill with a 1/8 inch bit (about 3 mm), pencil, cross-head screwdriver, tape measure and spirit level. Screws and wall plugs are in the box.

Who does it

The manufacturer's guides are clear: all electrical connections must be made by a qualified electrician. Recessed cabinets also need someone to open and frame the opening in the wall.
Manuals by model

The manufacturer's guides are in English, with step-by-step drawings: fitting, electrical connection, touch buttons and cleaning. They open at the source, on keliss.com.

Peace of mind
2 years

Two-year warranty

Every Keliss smart mirror is covered by a two-year warranty on parts and labour.

To open a warranty service request, contact us with the model and a short description of the problem.