Skip to content
KELISS
Smart locks

Installation and warranty

Before buying, the door and the type of lock are checked; the lock is fitted by your locksmith, using the model's manual.

We do not currently offer an installation service: your Keliss lock is fitted by your own locksmith or installer.

Before buying

Door thickness

Each model accepts a range of thicknesses, stated on its product page. In the manuals: 35-55 mm for the Astra AT011 and Vortex; 35-70 mm for the Hydro; 40-120 mm for the Astra AT010, Cipher and Eikona EK06. If the product page and the manual do not match, ask us to confirm before ordering.

Mortise lock

The Astra, Cipher, Eikona EK06, Hydro and Vortex have a lock body that fits into a mortise in the edge of the door. The Vortex manual shows the template: an edge mortise of 148 × 23 mm, two 52 mm holes 110 mm apart, 50 mm from the edge. The Astra AT011 manual lists the compatible lock bodies (5050, 4585, 6085, 5572, 6072, 6052).

Cylinder, glass and padlocks

The Enigma is a motorised euro profile cylinder that replaces the cylinder of the existing lock: the manual does not give the lengths, so the size must be chosen to suit your door. The Lumina is for glass doors of 10-12 mm (from the product page). The Pathos models are padlocks: they are not installed.

Opening direction

The Astra and Hydro suit doors that open to the right or left, inwards or outwards: the handle is turned through 180° and the latch reversed. On the Cipher the latch is reversed and the direction set from the menu. On the Vortex the stop screws (R or L) are used.

Power supply

The battery type is on each model's product page: AA batteries for the Astra (8 for the AT010, 4 to 8 for the AT011), Hydro, Lumina and Vortex (4); a rechargeable lithium battery for the Cipher and Eikona; one CR123A for the Enigma. The Pathos padlocks charge from the USB Type-C port. Many models also have an emergency socket for a power bank.

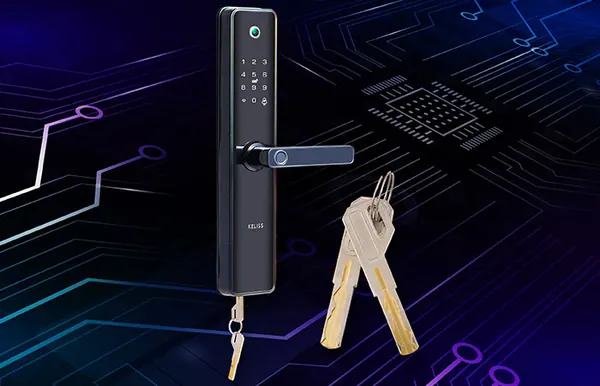
Keliss mortise smart lock with handle and mechanical keys

How it is fitted

  1. 01

    Checking the door

    Door and frame aligned, thickness within the model's range, holes already there or to be made.

  2. 02

    Drilling

    Using the manufacturer's template, when supplied, the holes are drilled in the face and edge of the door.

  3. 03

    Lock body

    The latch direction is set, the lock body is inserted into the edge mortise and secured with screws.

  4. 04

    Outer panel

    It is fitted by passing the cable and spindle through the holes; if necessary the spindle is cut to the door thickness.

  5. 05

    Inner panel

    The cable is connected, the panel is screwed in place and the bolt is checked by hand, with the knob and with the key, to make sure it runs smoothly.

  6. 06

    Commissioning

    The batteries are inserted and, with the door open and staying inside, the default code is changed, fingerprints and cards are registered and the app is paired.

The default code

Many manuals give a factory code (often 123456) that opens the lock until the first administrator is registered: it must be changed straight away, at commissioning.

Tools

Cross-head screwdriver, drill (with safety glasses), tape measure, pencil and spirit level. Some models also need a tool to cut the spindle and the cylinder to the door thickness.

Who does it

The lock is fitted by your own locksmith or installer, and several manuals expressly recommend this (Astra AT011 and Cipher). Before ordering, tell them the model you have chosen and ask them to check the thickness, the lock type and the opening direction of the door.
Peace of mind
2 years

Two-year warranty

Every Keliss smart lock is covered by a two-year warranty on parts and labour.

To open a warranty service request, contact us with the model and a short description of the problem.